本系列文章配套代码获取有以下两种途径:
-
通过百度网盘获取:
链接:https://pan.baidu.com/s/1i9F6oV1J5oZnIsOASDs0gQ?pwd=mnsj提取码:mnsj
-
前往GitHub获取:
https://github.com/returu/Python_mini_program脚本需求:
实现步骤:
-
读取文本文件内容;
-
使用jieba库进行中文分词;
-
去除停用词,这些词将不会出现在最终的词云中;
-
使用OpenCV库对掩码图像进行二值化处理。
-
使用WordCloud库生成词云,其中掩码图像定义了词云的形状;
-
使用matplotlib库显示生成的词云图;
-
将生成的词云图保存到指定的文件路径。
需要注意的是:
-
确保提供的字体文件路径支持中文,否则中文将无法正常显示;
-
处理后的掩码图像应该是一个白色背景上带有你想要的形状的黑色或透明区域;
-
可以通过调整WordCloud对象的参数(如max_font_size, max_words等)来自定义词云的外观。
代码实现:
-
binarize_image函数用于读取图像并进行二值化处理; -
visualize_image函数用于可视化图像。
具体代码如下所示:
def binarize_image(image_path, threshold=128):
    """
    读取图像并进行二值化处理。

    :param image_path: 图像的路径。
    :param threshold: 二值化的阈值,默认值为128。
    :return: 二值化后的图像(numpy数组)。
    """
    # 使用Pillow读取图像
    image = Image.open(image_path).convert('L')  # 转换为灰度图

    # 将图像转换为numpy数组
    image_array = np.array(image)

    # 进行二值化处理,使用THRESH_BINARY_INV得到黑色前景和白色背景的图像
    _, binary_image_array = cv2.threshold(image_array, threshold, 255,  cv2.THRESH_BINARY_INV)

    return binary_image_array

def visualize_image(image_array, title='Image'):
    """
    可视化图像。

    :param image_array: 要可视化的图像(numpy数组)。
    :param title: 图像标题。
    """
    # 将numpy数组转换为matplotlib可显示的格式
    if len(image_array.shape) == 2:  # 灰度图
        plt.imshow(image_array, cmap='gray')
    elif len(image_array.shape) == 3 and image_array.shape[2] == 3:  # 彩色图
        plt.imshow(cv2.cvtColor(image_array, cv2.COLOR_BGR2RGB))  # OpenCV默认是BGR格式,需要转换为RGB
    else:
        raise ValueError("Unsupported image format")

    plt.title(title)
    plt.axis('off')  # 关闭坐标轴
    plt.show()

# 示例使用
image_path = 'mask_image.png'# 替换为你的图像路径
binary_image = binarize_image(image_path, threshold=128)  # 进行二值化处理,可以根据需要调整threshold值以获得更好的效果
visualize_image(binary_image, title='Binarized Image')  # 可视化二值化后的图像
-
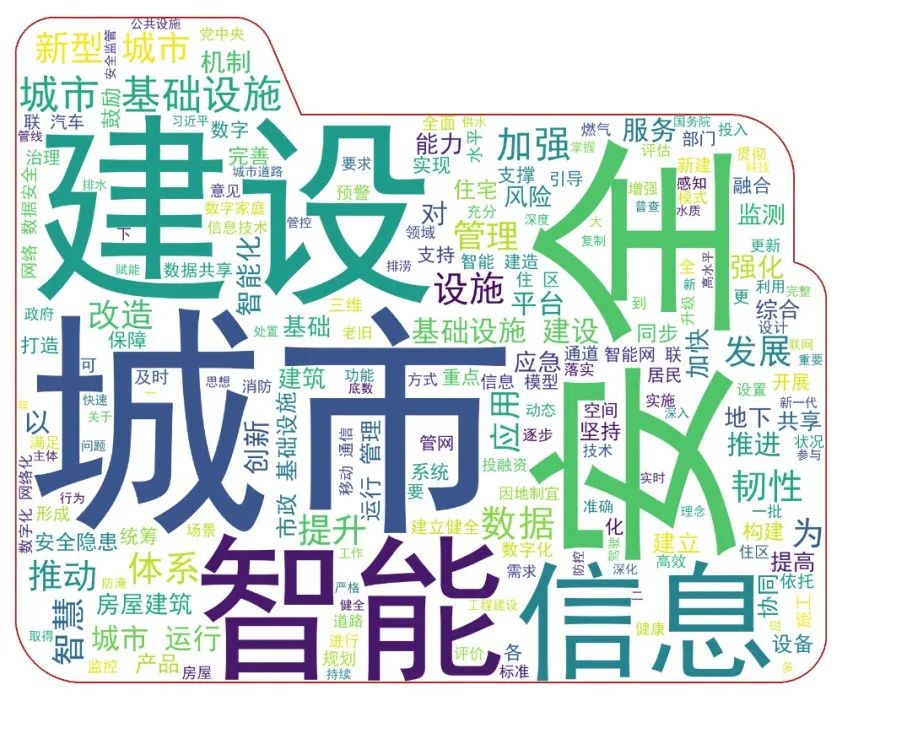
generate_wordcloud_with_mask函数用于使用指定的文本文件和掩码图像生成带有掩码的词云图。
具体代码如下所示:
# 定义停用词列表
stopwords = set([
    '的','等', '了', '在', '是', '我', '你', '他', '她', '它', '们', '有', '和', '与', '或', '而', '且',
    '但', '或', '因为', '所以', '虽然', '然而', '如果', '那么', '这些', '那些', '这个', '那个', '这些',
    '那些', '一个', '一种', '以上', '以下', '之前', '之后', '现在', '曾经', '已经', '正在', '将要',
    '可以', '能够', '会', '应该', '必须', '可能', '大概', '也许', '比如', '例如', '等等', '之类'
    # 可以根据需要继续添加停用词
])

def generate_wordcloud_with_mask(file_path, mask_image_path, output_image_path, font_path):
    """
    使用指定的文本文件和掩码图像生成带有掩码的词云图。

    :param file_path: 文本文件的路径,该文件包含用于生成词云的文本内容。
    :param mask_image_path: 掩码图像的路径。该图像将被二值化处理,并用作生成词云的形状掩码。
    :param output_image_path: 生成的词云图的保存路径。
    :param font_path: 字体文件路径。
    """
    # 读取文件内容
    with open(file_path, 'r', encoding='utf-8') as file:
        text = file.read()

    # 使用jieba进行中文分词
    wordlist = jieba.lcut(text)

    # 去除停用词
    filtered_wordlist = [word for word in wordlist if word not in stopwords]

    # 使用空格将分词结果连接成字符串
    text_space_split = ' '.join(filtered_wordlist)

    # 对掩码图像进行二值化处理
    mask = binarize_image(mask_image_path, threshold=128)

    # 生成词云
    wordcloud = WordCloud(font_path=font_path,  # 字体文件路径
                          width=800,
                          height=400,
                          background_color='white',
                          mask=mask,  # 使用二值化后的掩码图像
                          max_words=200,  # 指定要显示的词的最大个数,默认值为200
                          contour_width=3,  # 轮廓宽度,可选
                          contour_color='firebrick'# 轮廓颜色,可选
                         ).generate(text_space_split)

    # 显示词云图
    plt.figure(figsize=(10, 5))
    plt.imshow(wordcloud, interpolation='bilinear')
    plt.axis('off')  # 关闭坐标轴
    plt.show()

    # 保存词云图到文件
    wordcloud.to_file(output_image_path)

if __name__ == '__main__':
    input_file_path = 'your_input_file.txt'# 替换为你的TXT文件路径
    mask_image_path = 'mask_image.png'# 替换为你的掩码图像路径(应该是灰度图或可以转换为灰度图的彩色图)
    output_image_path = 'wordcloud_with_mask.png'# 输出的词云图路径
    font_path='simhei.ttf'# 替换为你的字体文件路径

    generate_wordcloud_with_mask(input_file_path, mask_image_path, output_image_path, font_path)


本篇文章来源于微信公众号: 码农设计师